DS106 Daily Create for Aug. 31, 2013 (yep, a couple of days late!): “This is TDC 601! That is 106 backwards! Draw something 106ish backwards.”
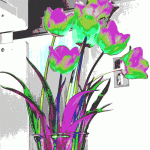
This one was challenging for me—I could make a video or a gif of something going backwards, but I was struggling with how to make a still image of something backwards. Okay, maybe draw the back of a kitchen monster that people created for <a href=”http://tdc.ds106.us/tdc595/”>TDC595.</a>
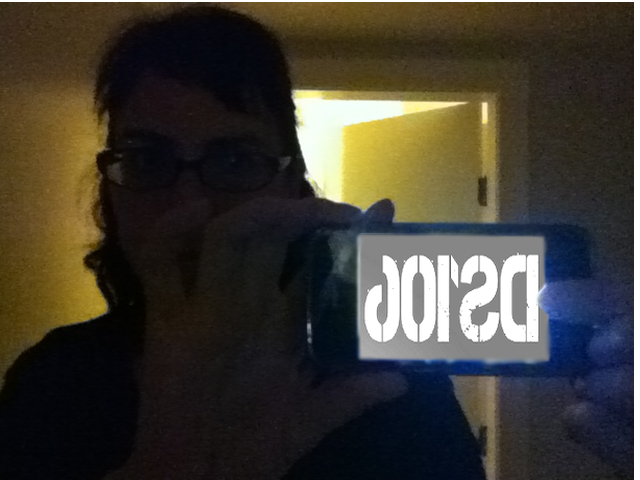
But then I thought…what is something ds106ish? well, me! and you! So why not take an image of me backwards? Thus the mirror.
My original idea was to have my camera showing the ds106 logo on the camera itself, and then take a photo of that. Ha! In what universe did I think it would be possible for my phone to be using one application (to show the ds106 logo (on the web) and then also use the camera app at the same time? Not.
So I took the photo using the camera app (of course), and then did a screen shot of the ds106 logo from the ds106 page.
I opened both in GIMP as layers, and made a layer mask for the image of me so that the part inside the phone would be transparent and I could put the ds106 layer under that so it’d show through.
1. First, I drew a selection around the phone display with the “lasso,” or “free select” tool, so I could go around my finger on the camera button.
2. I then did Selection->invert, which makes everything around the camera display selected, which is needed for the next step.
3. Layer->create layer mask, which made the phone display transparent and everything around the phone display in the image show up.
4. Scale the size of, and position the ds106 layer so it’s in the right place, peeking out through the transparent hold in the layer of me above it.
5. Because the dividing line between the two images around the camera display was pretty sharp and harsh, I used the blur/sharpen tool to do a little blurring around the edge of the camera display. I think I did bit much of that, but no time to go back and fix it.
6. I also played a bit with the brightness and contrast and other settings under “color” for the ds106 layer—I wanted it to look a bit like it was glowing, shedding light on my finger and out beyond the display screen. That was a hard effect to get, and it’s not quite what I was hoping for, but upping the brightness did help.
It’s not really a drawing, but I have yet to feel comfortable enough with drawing to do many of those. It’s one of the parts of ds106 I just need to force myself into to get more confident about it. Everything else I love doing; drawing, well, not so much.
On my list to get better at gimping….